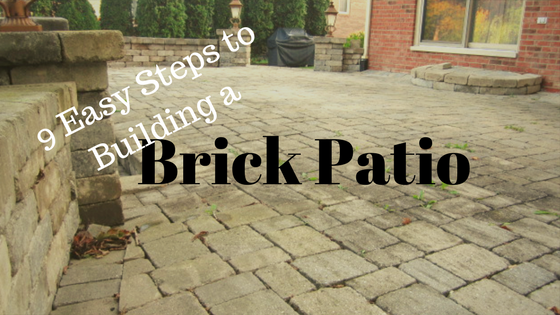
Brick Patio: In 9 Easy to Follow Steps
I have always thought brick patios provide an extraordinary visual enhancement around all homes, and is a major compliment to all your landscaping efforts. Having said that installing a brick patio is not a very difficult undertaking, however it will take a significant amount of your time to complete. The key to installing a brick patio, is proper planning and to break the plan down into distinct and clear steps. So that is precisely what we will do in this post, as I am going to present you with an easy 9 step process for installing a brick patio.
9 Step Brick Patio Plan
 Step 1:
The first step to take when laying a brick patio is relatively simple. Grab a string line and mark out the patio area.
Step 2:
Having marked out your patio area, you now need to outline the area with wooden stakes. These stakes are readily available at any garden store or hardware center. Hammer the stakes into the ground a fair distance below the level to be excavated for your patio.
 Step 3:
Now you need to excavate the marked out area for your patio. If you are building a large patio area, I highly recommend you hire a bobcat to do the excavation work. They are easy to learn how to use, and will save you a lot of time.
It is important that you excavate deep enough to ensure that you have enough room for the base layers. Note that your bricks will lie on top of these base layers, level with the surrounding ground.
If a brick patio isn’t for you, have you considered flagstone
 Step 4:
This step is one of the most important when it comes to laying a brick patio. Make sure that the area that you have just excavated is level. Saying that though, it is desirable for any brick patio to have a slight amount of fall to allow water drain. More importantly though, this fall should be away from any nearby or adjoining structures.
Step 5:
Fill and level the patio area with gravel. A scoria type gravel with good drainage will do the job. Make sure you make the layer at least 3 inch’s thick, preferably more.
Step 6:
For a more defined edge, I highly recommend you box the edging of your patio by attaching timber to your stakes. This boxing can be removed when you have finished, should you desire to do so.
 Step 7:
Now fill and level the area with a stone dust or paving sand. You will find that it is very easy to spread. Make sure you tamp the area down with a thick piece of wood, or get a plate compactor and really compact the whole area as much as possible.
Step 8:
It is now time to lay the bricks. You can choose from several patterns. It is very important when laying a brick patio, to tamp the bricks when you lay them. A rubber mallet is the ideal tool for this job. Make sure you don’t hit too hard, or you will damage the bricks.
 Step 9:
We have now come to the final step in laying a brick patio. Sweep sand into the cracks between the bricks. Once you have completed that, spray the patio area with water to allow everything to set.


Comments are closed, but trackbacks and pingbacks are open.